
WRITING IDEAS TO LAST A LIFETIME
(Lifetime -- that's a clue)
Recently I cleaned out and organized the bookcases in my office. (That little adventure is detailed in a couple of previous blog posts. And, yes, I am aware that referring to organizing bookcases as an "adventure" reveals what a pathetic life I lead. But that is not the point.)
That felt pretty good so I decided to tackle the years of photographs tossed into boxes and closets. Not just years of photographs -- a lifetime. The boxes include baby pictures of me.
(Yes, they had cameras when I was a baby.)
In fact, there are photographs of my mother when she was pregnant with me. Or as they said then, PG. Or was it pg. Actually, the subject was considered unsuitable for print so we will never know. Take your pick.

Here are some of the boxes. That looks like a photo album in the cardboard box, and it is. Still wrapped nicely in plastic. Never opened. Ready for 200 photos.
And here are some pictures that didn't even make it into boxes.

What could be in this hat box? I thought all my hats were hanging on my office wall. Why gracious me. It is crammed full of more photographs.
 And then my Gentleman Friend said, "You want me to bring up the boxes from the basement? There are lots of pictures down there." I said maybe I would hold off on those for a while.
This was going to take more than one 200-picture album. I hit upon another plan. This plan would replicate the three-stage writing process.
Several clear plastic boxes with lids from Walmart were labeled according to subject: Christmas, holiday, vacation, house and yard, daily activities, friends and family, baby pictures, and a few others. You get the idea.

In the first stage, I am doing a rough sort. Bad photos, duplicates, and who-cares photos are discarded. If I can remember or figure out the year and event, the picture is labeled on the back in my not-pretty handwriting. Sometimes I later figure out I have labeled something incorrectly and I cross out and re-label. I wish it were neat and perfect, but it is not. I am too old to try to be perfect, not enough time left. (I mean that in a fun, freeing way -- not a morbid I'm-gonna-die-someday way.)

Last night, I finally brought up another box and armload of pictures from the basement.
After those are sorted into their subject boxes, I plan to do Stage Two. Some of the subject boxes will need to be divided into two or more subjects. For example, I have all the vacation and business trip pictures in one box. Each of those subjects will need a box of its own. I will quickly go through the pictures again and get rid of more and maybe do more labeling on the back.
My plan for Stage Three is to pile the photos in their labeled plastic boxes in rough chronological order, put on the lids, and stack them back in the closet. Young Advisor had this idea and liked it. The photos are accessible.
Seems like an easy, middle ground approach. Better than pictures thrown into boxes, but not something impossibly arduous.
However, in the middle of the night it occurred to me that closed plastic boxes probably would not be good for long-term storage of photos. I need something acid free.
I need a Step Four -- a trip to Archiver's to look for suitable boxes. Or, if any of you have a suggestion for permanent storage boxes, please send it along.
So, basically what I have done is apply the three-step writing process to organizing my photos. First, I thought about how to approach the task (pre-writing). Then I created a first draft (rough sorting of photos), and finally, I edited and polished (final sorting, discarding, and arranging).
Of course, you know what has happened. In the process of going through all these photos, memories have come rushing in. Writing ideas. To last a lifetime.
You don't have to set out to organize a lifetime of photos, just reach into the box and pull one out. You have a story. You can write it as memoir, fiction, essay, nonfiction or anything you desire.
LAUNCHING PAD
See that black and white photo in the lower middle of the last photo? That's my maternal grandmother. Until she died when I was fifteen, I had not thought about the fact that she had a name other than "Mom." To friends, family, casual acquaintances, she was Mom.
What did you call your grandmother(s)? Why did you call her that? What is the first memory of her that comes to mind?
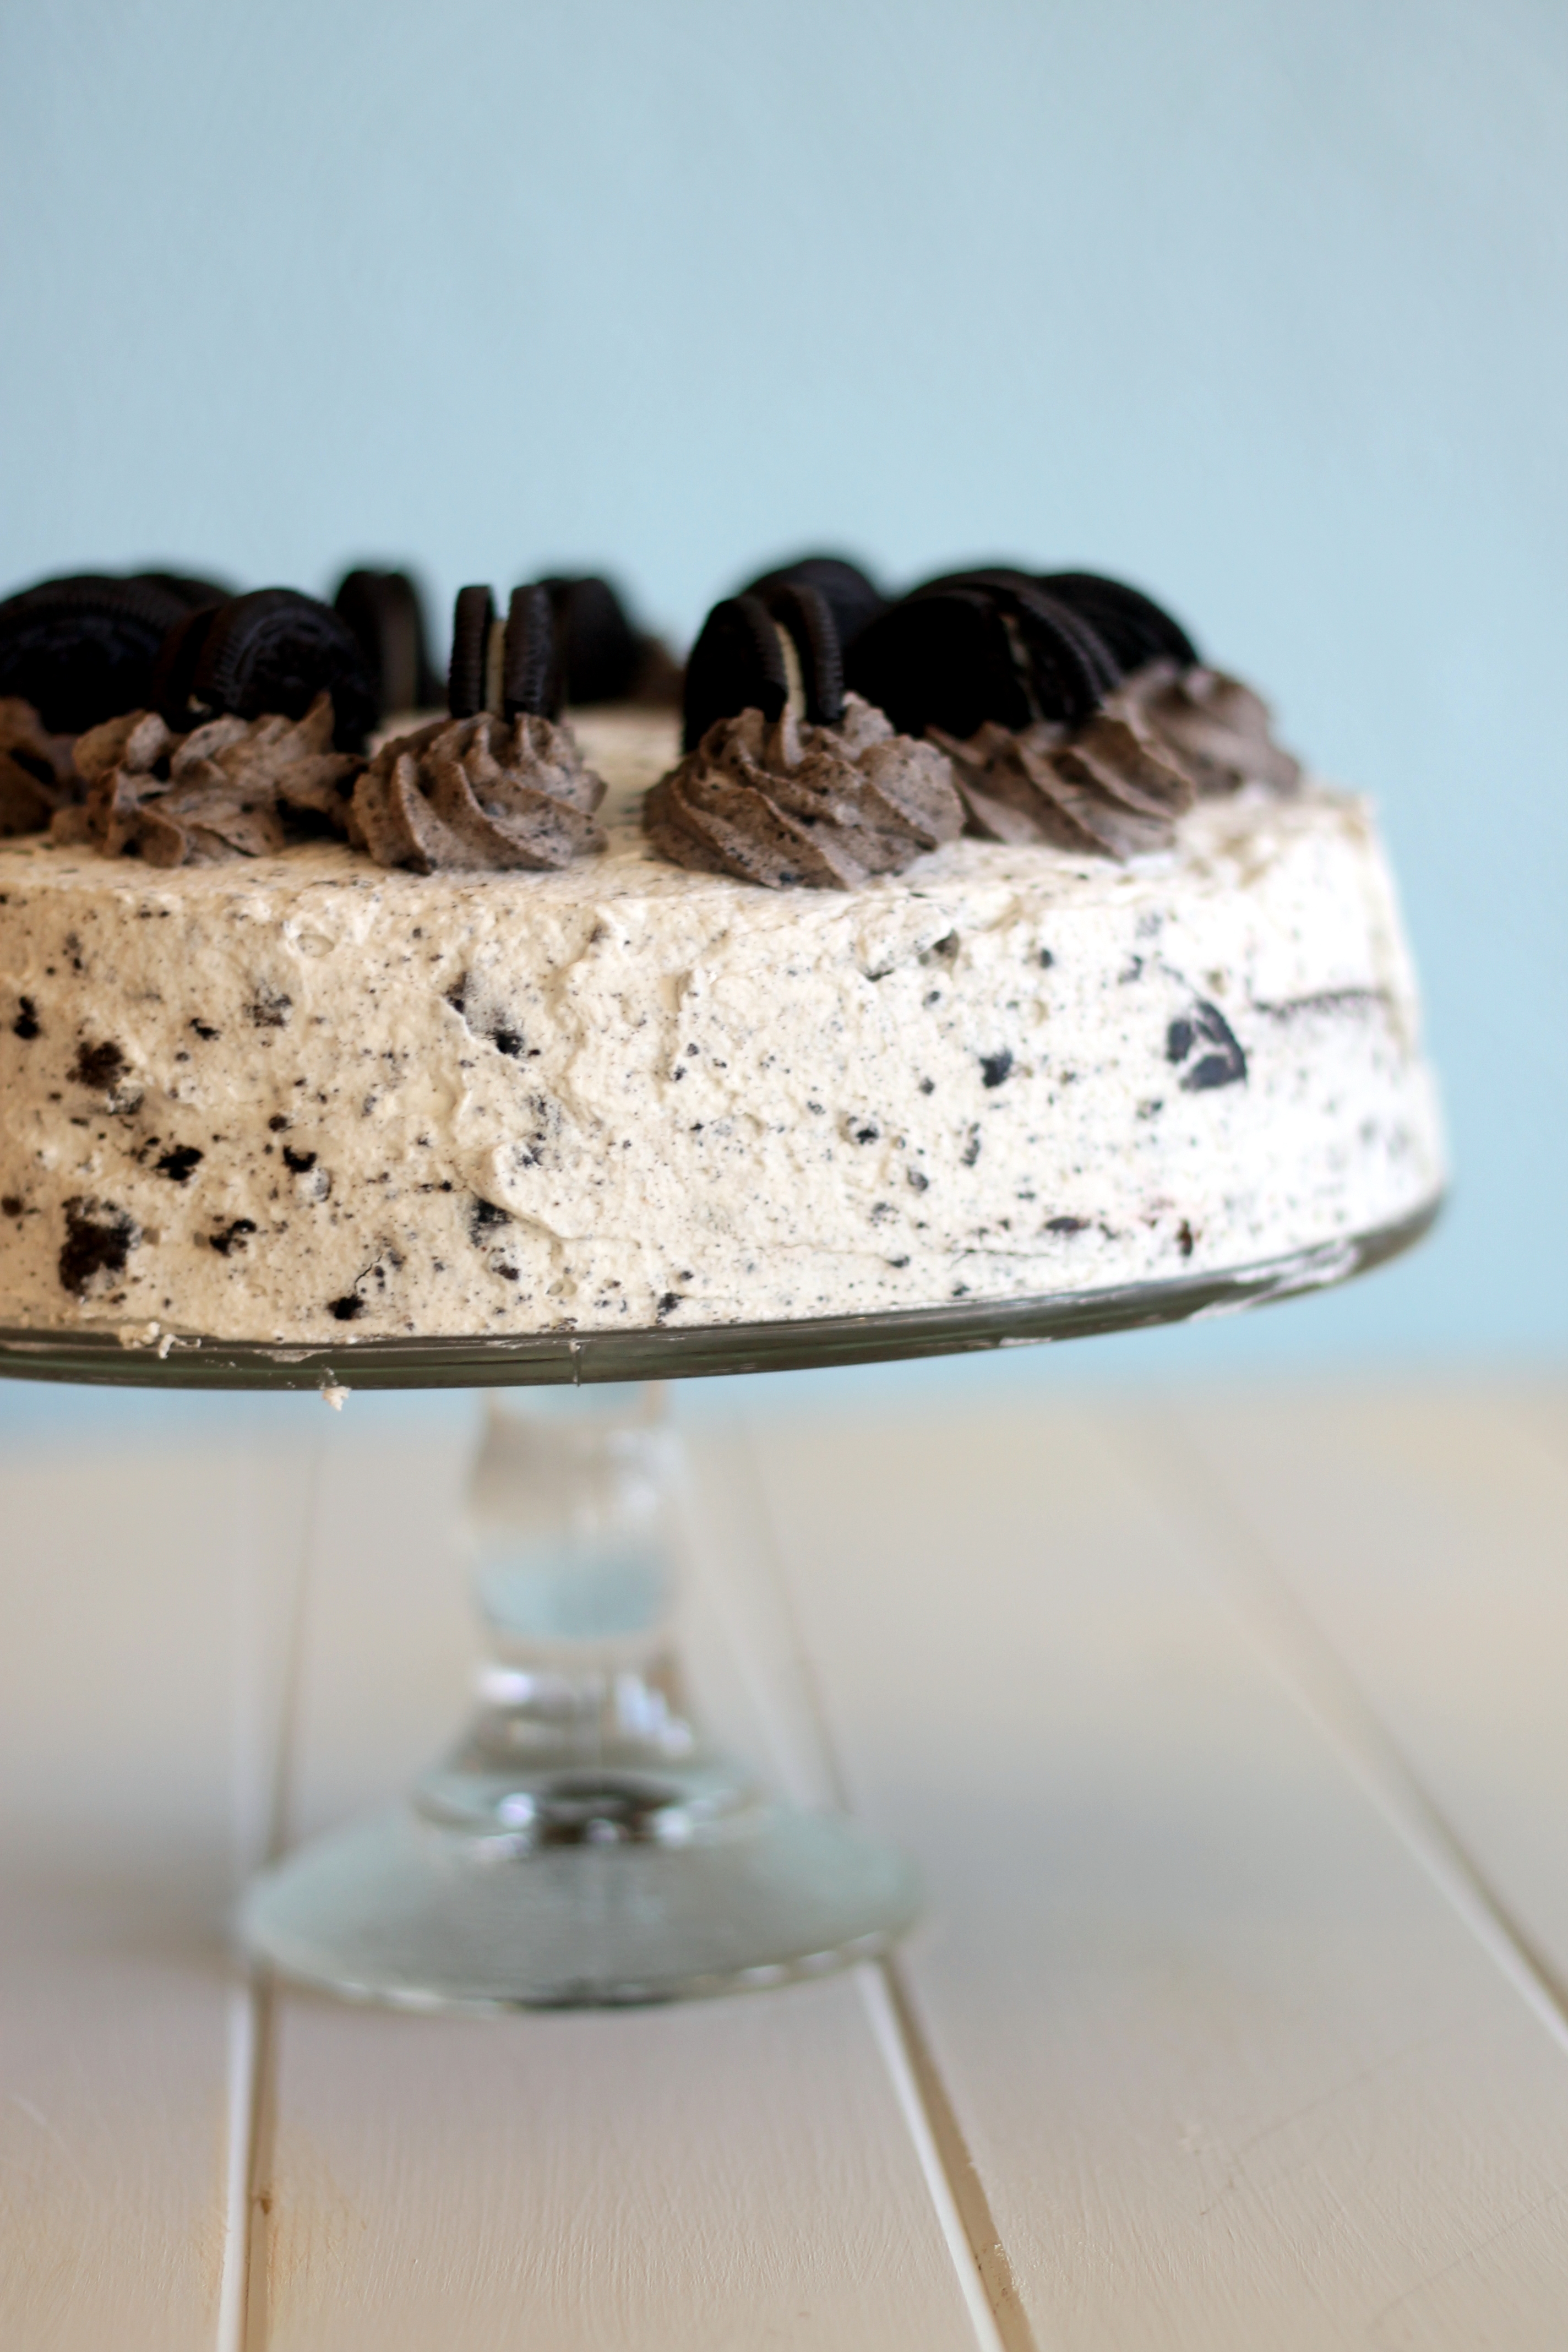
CHOCOLATE INKWELL
I just discovered www.Bakerita.com. Wonderful recipes and photos by Rachel, a nineteen year old San Diego, California student. The good part is her recipes are simply fabulous and do not call for any Cool Whip. I really dislike a blob of Cool Whip masquerading as dessert. HOWEVER, using Cool Whip is quick and easy and so much easier on the digestive system. (Your pancreas has to process all that fat, you know.) For that reason, I would add a disclaimer to the following recipe: it would be easy to substitute a cake mix and Cool Whip for the made-from-scratch cake and whipped cream. Or make the cake from scratch and substitute Cool Whip. Of course, you would also be substituting yumminess. It's your call.
Ingredients
- 1 1/2 cups (6.25 oz) all-purpose flour
- 1 cup (7 oz) sugar
- 1 cup cold water
- 2/3 cup vegetable oil
- 1/4 (.75 oz) cup unsweetened cocoa powder
- 1 teaspoon baking soda
- 1 teaspoon white vinegar
- 1/2 teaspoon salt
- 1 teaspoon vanilla
- 50 Oreo cookies, finely crushed
- 4 1/2 cups heavy cream
- 2 tablespoons granulated sugar
- 1 tablespoon pure vanilla extract
For the cake
For the Oreo whipped cream
Instructions
- Heat oven to 350 degrees F. In large mixing bowl combine all ingredients. Beat with electric mixer on medium to high speed until well combined. Pour batter in a greased 9-inch baking pan (or two, if you don't want to split the cake later).
- Bake 20-25 minutes (12-15 minutes if you're doing 2 pans) or until a toothpick inserted near center comes out clean. Cool completely, and place in the freezer for 1/2 hour before assembling.
- Carefully cut 6 Oreo cookies in half; set aside. Chop remaining cookies into 1/4-inch pieces; set aside.
- Make the Oreo whipped cream in 2 batches. In bowl of standing mixer fitted with whip attachment, whip 2 cups cream on medium-high speed to soft peak, spoon into large bowl. In same mixer bowl, whip remaining 2 1/2 cups cream, sugar, and vanilla to soft peak. Fold into already whipped cream.
- Place about 1 cup whipped cream in a different bowl and refrigerate until ready to decorate cake. Fold crushed Oreos into remaining whipped cream.
- Remove cake from the freezer. Slice cake in half horizontally to create 2 layers. Place bottom layer on serving plate. Spread about 1/3 of Oreo whipped cream onto cake. Top with second cake layer and use remaining Oreo whipped cream to frost top and sides of cake. Chill in refrigerator for about 2 hours to allow cookies to soften.
- Place reserved whipped cream in pastry bag fitted with star tip (re-whisk if necessary). Pipe 12 whipped cream rosettes around perimeter of cake and garnish with reserved Oreo cookie halves. Serve.
For the cake
For the Oreo whipped cream
For the cake assembly
For more ideas and helps for writing your life story, visit www.angleinyourinkwell.com. Click on FAQ for answers to your questions or click on Buy to get a copy of my Write Your Life Story in Eight Weeks Workbook.
At www.angelinyourinkwell.com/buy.html, you also can do two good turns with one click of your mouse. Buy my original, exceedingly clever photo birthday cards: make a friend happy and help support Meals on Wheels for seniors. What could be better?
All rights reserved 2013 There's An Angel In Your Inkwell®
No comments:
Post a Comment